Visual Studio Code is a free and a good coding app for the developers. It features syntax highlighting, embedded Git, snippets, code completion, and code refactoring.

In this blog post, CrimKri is asking the Computation Expert about a free Coding App for his freelance work. Learn about VS Code and see its installation.
The Play
| CrimKri | Hello, Hey CE Expert!!!! Thanks to help me last time about LibreOffice and GIMP. Now, I am also starting to work as freelance coder. |
| CE~RamExpc | Great to know that. What will you code? |
| CrimKri | Web things. HTML, JS, CSS, somewhat others like Python. |
| CE~RamExpc | Good, good. |
| CrimKri | I want to know about a free coding tool in which I can code? I also want to use Visual Studio and C. |
| CE~RamExpc | As per your requirement, you can use Microsoft Visual Studio Code. It is a free coding app by Microsoft and has many features like
|
| CrimKri | Great. What’s more? |
| CE~RamExpc | A lot of extensions are available to enhance the capabilities of Visual Studio Code and integrate it with third-party Apps. |
| CrimKri | Wow! I am so excited. How can I install it? |
The Action
CE~RamExpc in Action
Perform the following steps to install the Visual Studio Code.
- Visit the Visual Studio Code Website
 in your browser on your computer.
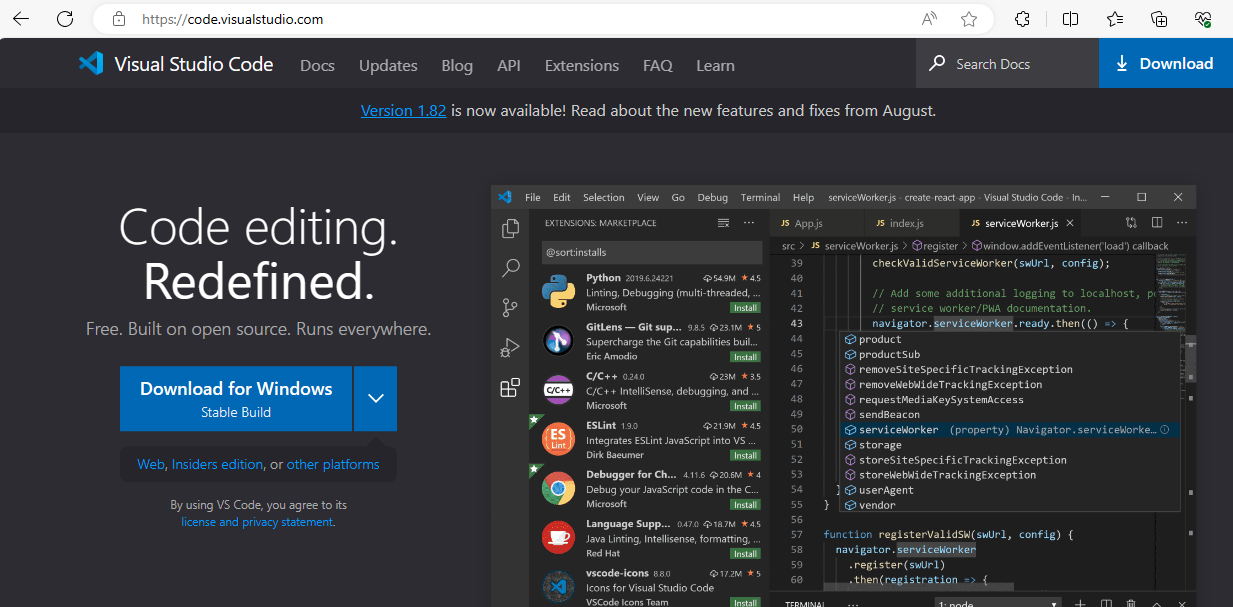
Visual Studio Code Website
- Click the down-arrow icon with the Download button to download the Visual Studio Code’s setup file for your operating system and bit.
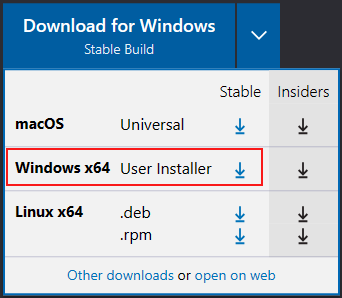
Download Options
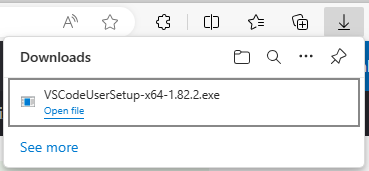
- Click the download icon for your operating system and bit to download the setup file. It starts the download as per your browser’s preference. It will either download directly to the default download folder or prompt you to save the file manually. In my case, the system displayed it.
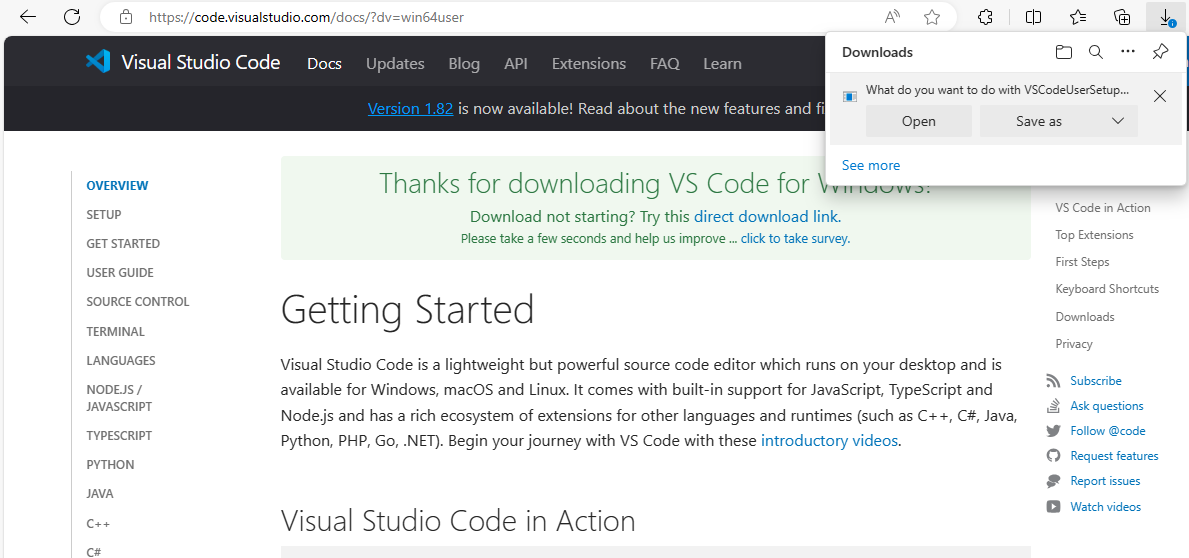
Downloading the setup file
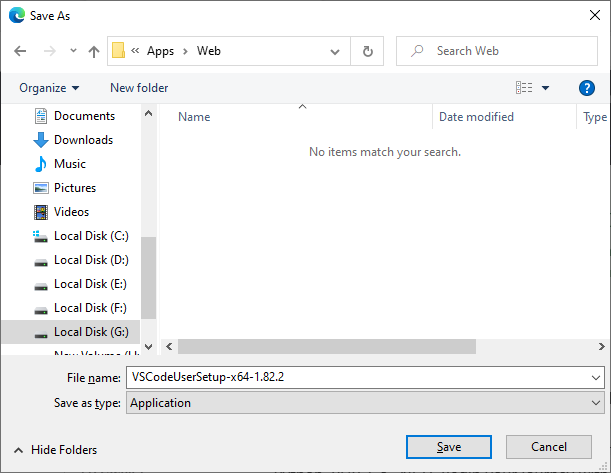
- Click the Save as link to save the file on your disk drive. It displays the following dialog box.
Save the file
- Select the location where you want to download the file.
- You can rename the file, if required. But, I skipped this step.
- It is obvious that you have to click the Save button in this dialog box. It saves the file on your disk drive at your selected location.
Downloaded the file
- Go to the selected location.
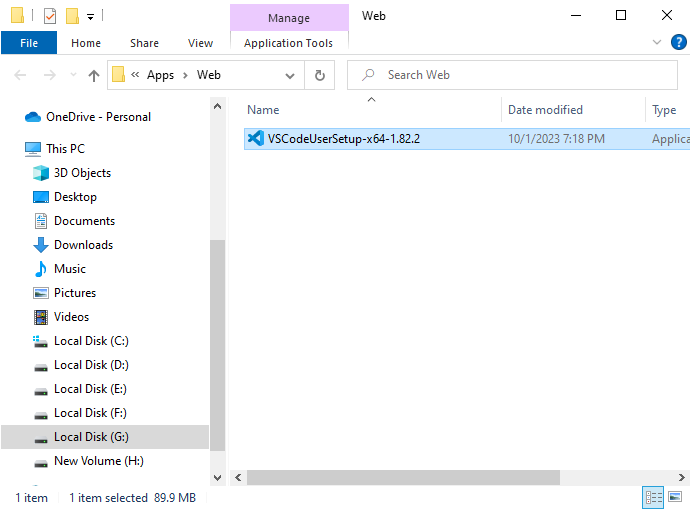
Setup file
- Double click to open the setup file. It displays the following page.
Start the installation
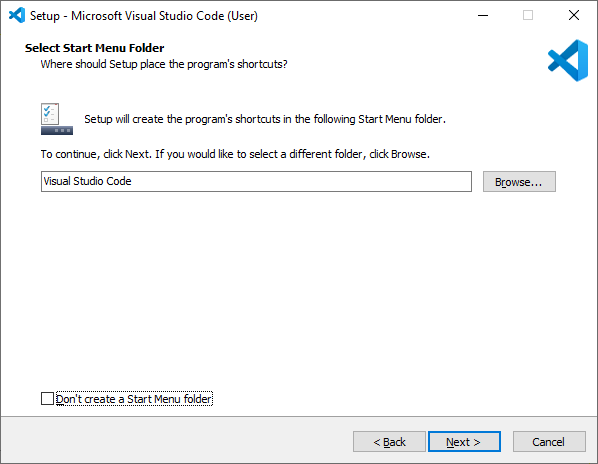
- Here, you can click the Browse button to select a different location where you want to install the Visual Studio Code.
- You can also select the option to not create the folder for Visual Studio Code in the Start Menu.
- Click the Next button to continue. The wizard displays the license.
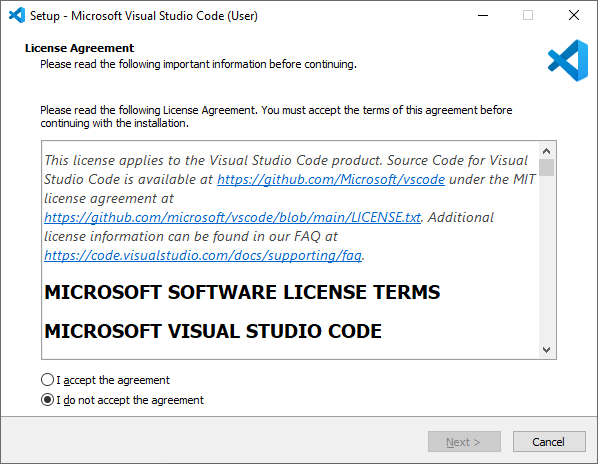
License Agreement
- We recommend you reading the license agreement in detail and understand it. Once you are ready to comply with it, please click the Next button to continue the installation. It displays the following page.
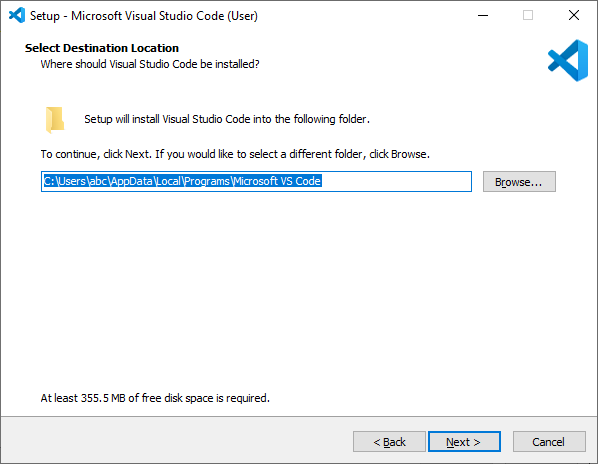
Select the location
- Here, you can click the Browse button to select a different location where you want to install the Visual Studio Code.
- After selecting the installation location, click the Next button. It displays the following page.

Additional Tasks
- Here, you can select the following options as per requirement.
- Create a Desktop icon: Select it to create the Visual Studio Code icon on the desktop.
- Add “Open with Code” action to Windows Explorer file context menu: Select it to add the Open with Code option in the file context menu of Windows Explorer. It lets you open the file to edit in the Visual Studio Code.
- Add “Open with Code” action to Windows Explorer directory context menu: Select it to add the Open with Code option in the folder context menu of Windows Explorer. It lets you add the folders in the App.
- Register Code as an Editor for supported file types: Select it to make the Visual Studio Code as the default editor for the supported file types such as HTML, JS, and CSS.
- Add to PATH: Select it to set the environment variable for the Visual Studio Code in the system properties.
- Click the Next button to view the following page./p>
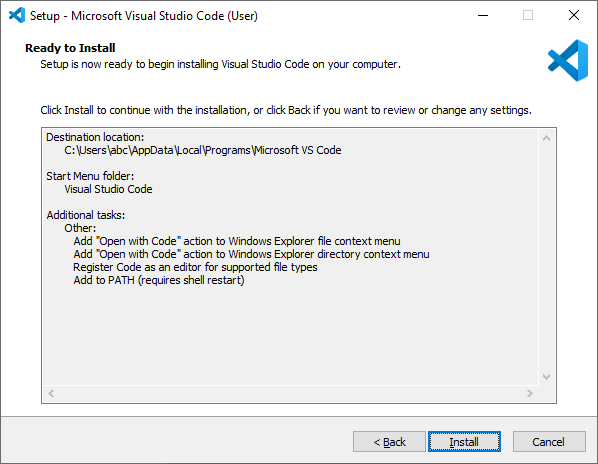
Ready to install the VS Code
- You can view the summary of the previous inputs in this wizard. Click the Install button to start the installation.
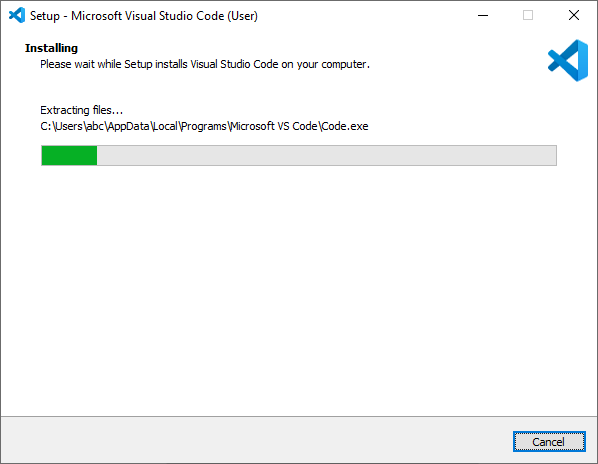
Installing the VS Code
- A successful message is displayed in this wizard to denote the successful installation of Visual Studio Code.
Installed the VS Code
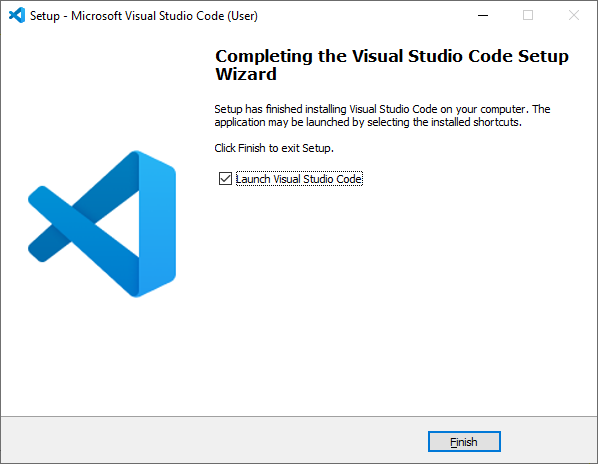
- You can uncheck the Launch Visual Studio Code option to not launch Visual Studio Code after closing this wizard. However, I have kept it checked.
- Click the Finish button to complete the process and close this installation wizard.
- It launches the Visual Studio Code or you can start it from the Start Menu.
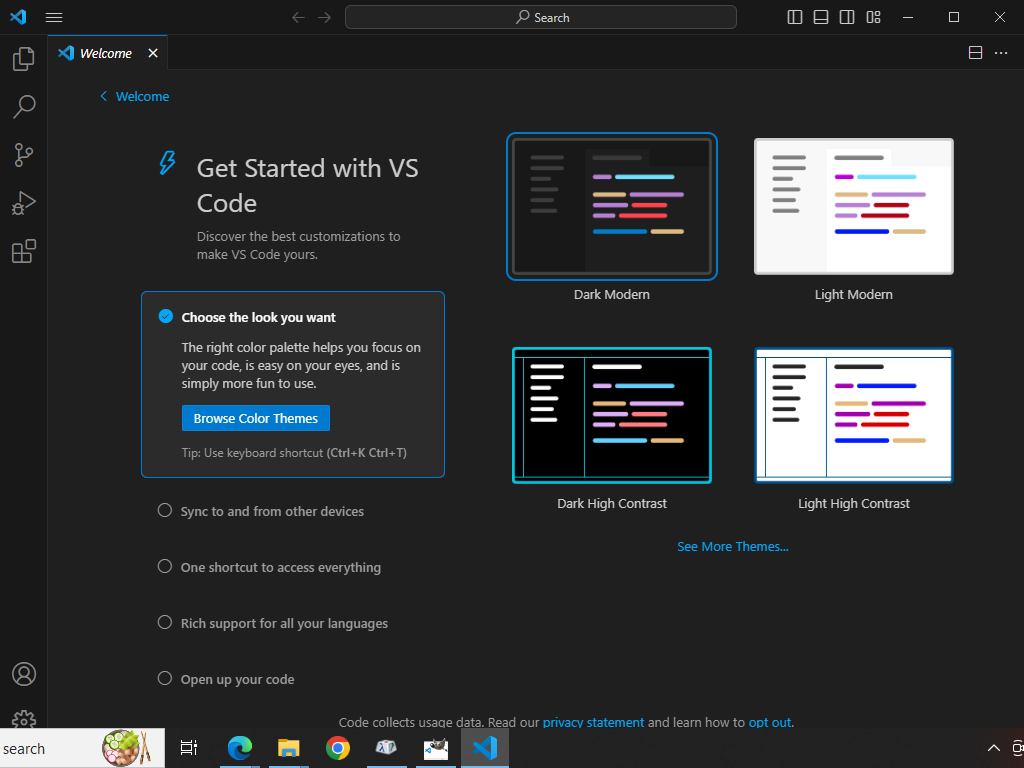
Launched the VS Code for the first time
Please share the name of Coding App you are using. And do share your feedback for Visual Studio Code.
Hey! I would also like to know your feedback about this blog post.