Node.js is an event-driven runtime JavaScript framework, that works asynchronously. You can use it create simple program or network applications. Suppose your program wants to send multiple calls to the server app, but also goes idle for some time. Learn about the advanced installation of Node.js.
The Play
| CrimKri | Hello, Hey CE Expert!!!! Thanks to help me last time about Microsoft Visual Code. It is a nice application and I am creating my project in it. However, it needs Node.js. What it is? |
| CE~RamExpc | It is an event-driven runtime JavaScript framework, that works asynchronously. You can use it create simple program or network applications. Suppose your program wants to send multiple calls to the server app, but also goes idle for some time.
In such cases, you can use Node.js. |
| CrimKri | Yes, I understand the asynchronous behavior. But why Visual Studio Code needs it? |
| CE~RamExpc | No, Visual Studio Code does not need it for its normal functions. You might want to use some extensions that need Node.js. |
| CrimKri | Yes! I hope so. Even though, Visual Studio Code does not need it, still I am now interested in installing Node.js. |
| CE~RamExpc | Good to know that. |
| CrimKri | So the question is: how can install the Node.js? |
The Action
CE~RamExpc in Action
Perform the following steps to install the Node.js.
- Visit the Node.js Website
 in your browser on your computer.
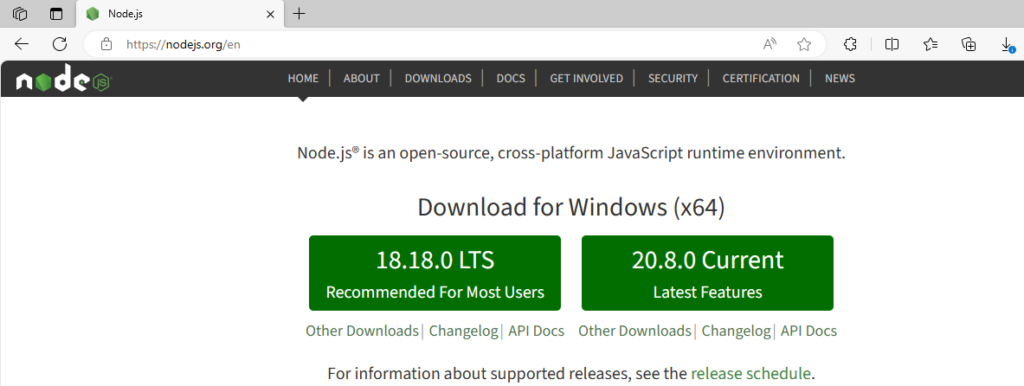
Node.js Website
- Click the 20.8.0 Current button. It starts the download as per your browser’s preference. It will either download directly to the default download folder or prompt you to save the file manually. In my case, the system displayed it.
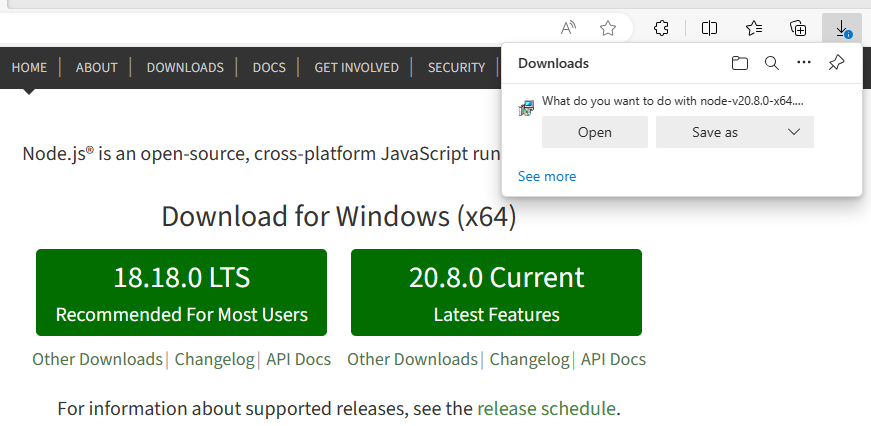
Downloading Node.js
- Click the Save as link to save the file on your disk drive. It displays the following dialog box.
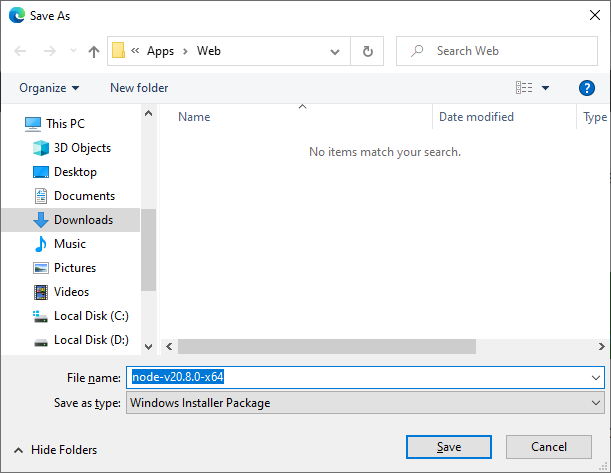
Select the folder
- Select the location where you want to download the file.
- You can rename the file, if required. But, I skipped this step.
- It is obvious that you have to click the Save button in this dialog box. It saves the file on your disk drive at your selected location.

Downloaded the setup file
- Go to the selected location.
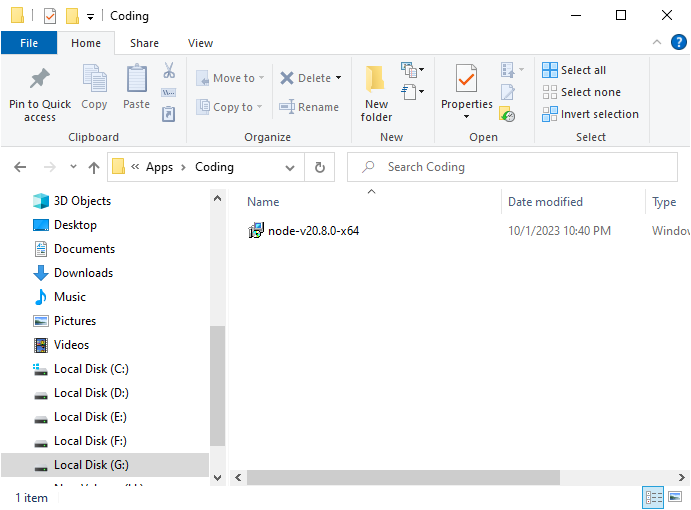
Folder containing the setup file
- Double click to open the setup file. It displays the installation mode.
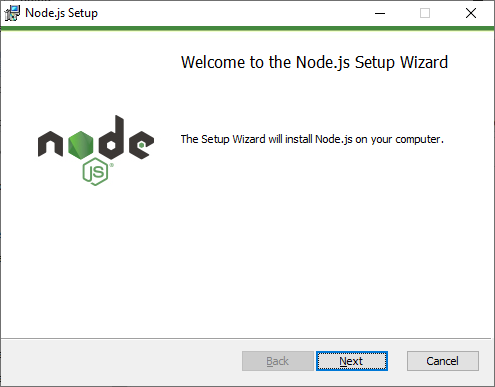
Installation Wizard
- Click the Next button to start the installation. It displays the following license page.
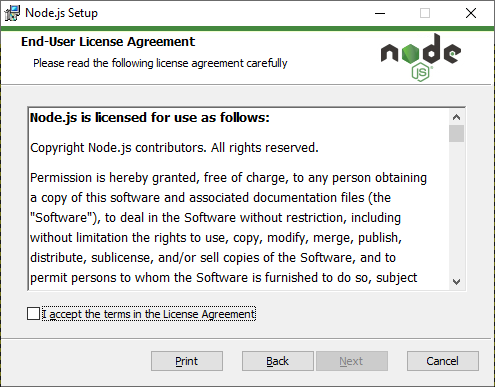
Node.js License Agreement
- We recommend you reading the license agreement in detail and understand it. Once you are ready to comply with it, please click the Next button to continue the installation. It displays the following page.
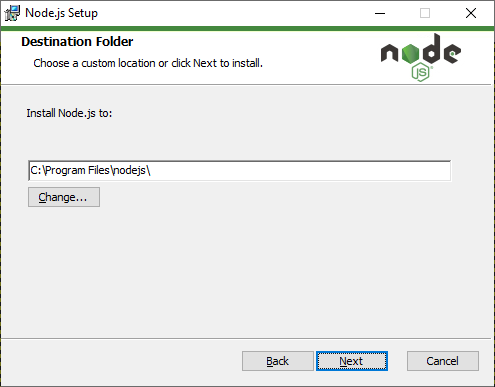
Select the Installation Location
- Here, you can click the Browse button to select a different location where you want to install the GIMP.
- Click the Next button to continue the installation. You can select what component you want to install, what you do not want to install.
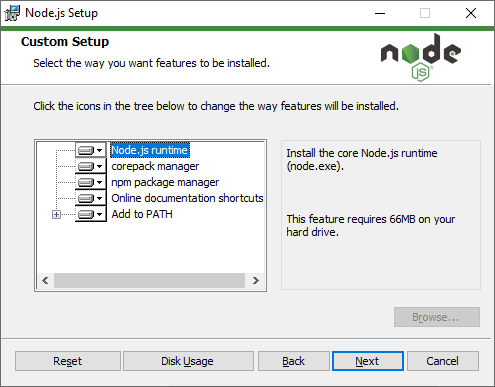
Customize the installation
- You can select any option as per your preference. I have selected to install all features.
- Click the Next button.
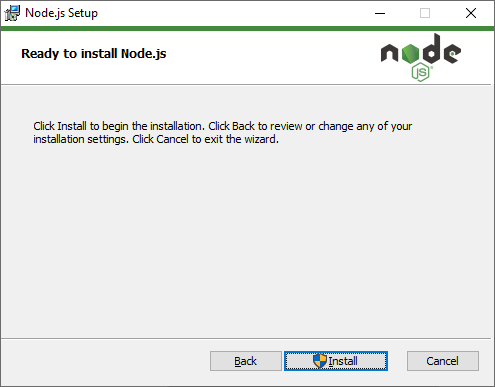
Ready to install
- If the User Access Control asks to install this application, please make sure to click the Yes button. Once allowed, the installation process starts.
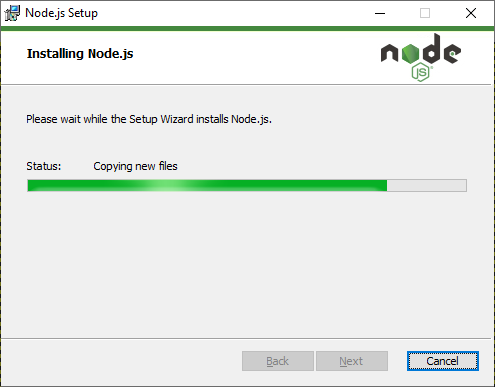
Installing the Node.js
- Once installed successfully, a successful message is displayed in the installation wizard.
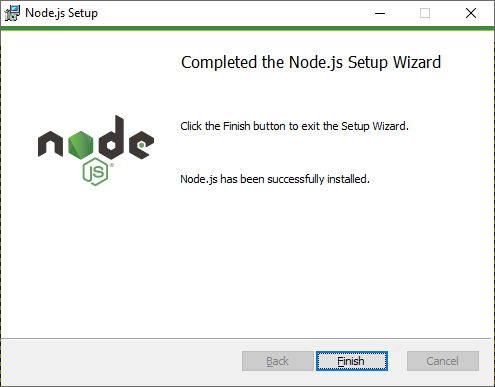
Successfully installed the Node.js
- Click the Finish button to complete the process and close this installation wizard.
- A command prompt will be displayed to install the additional tools for the Node.Js.
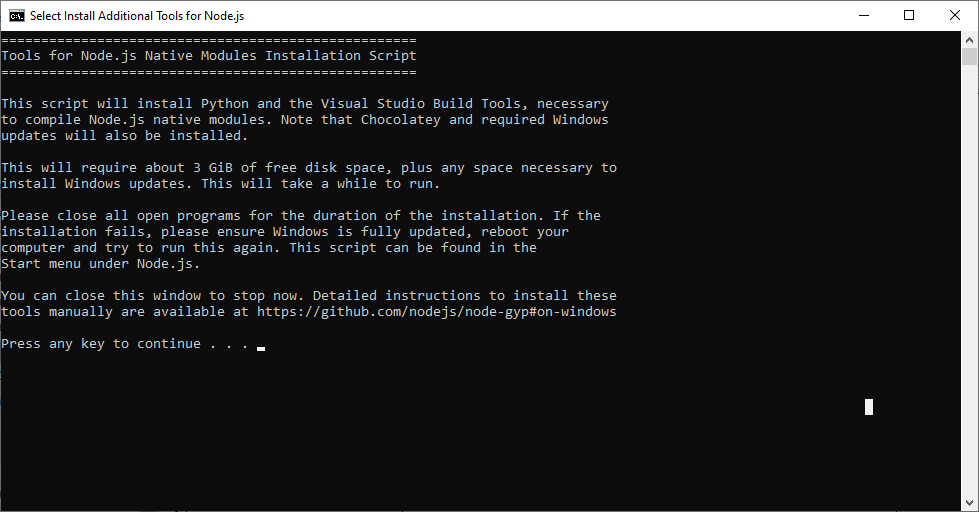
Command Prompt to install the Node.js tools
- Press any key to install the tools. It performs some installation and displays the Windows PowerShell.
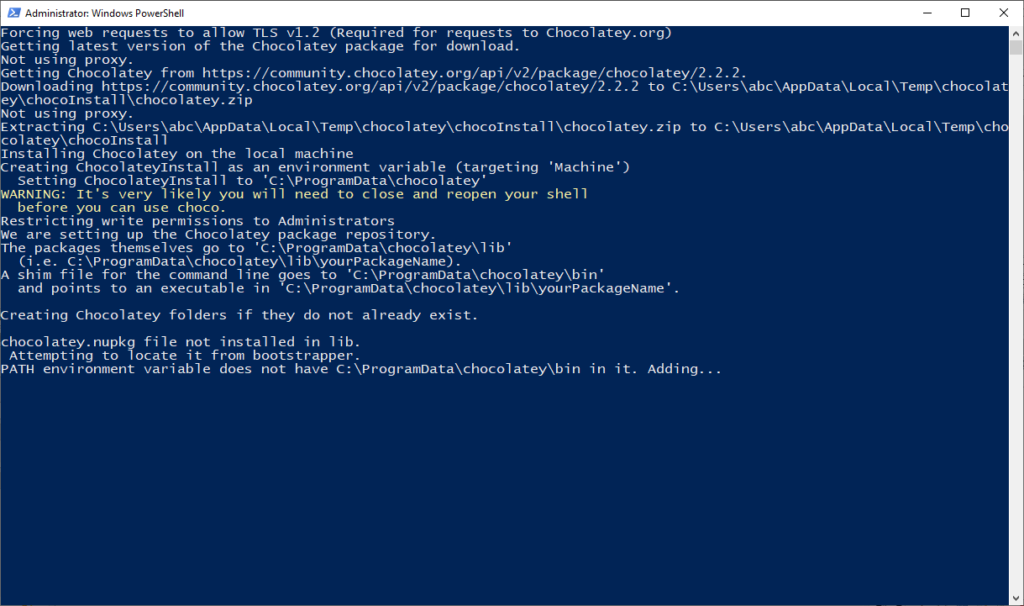
PowerShell prompt for configuration and tools
Once completed, the tools for node.js will be installed.
- You can start the Node.js using the Start Menu. It displays its command prompt.
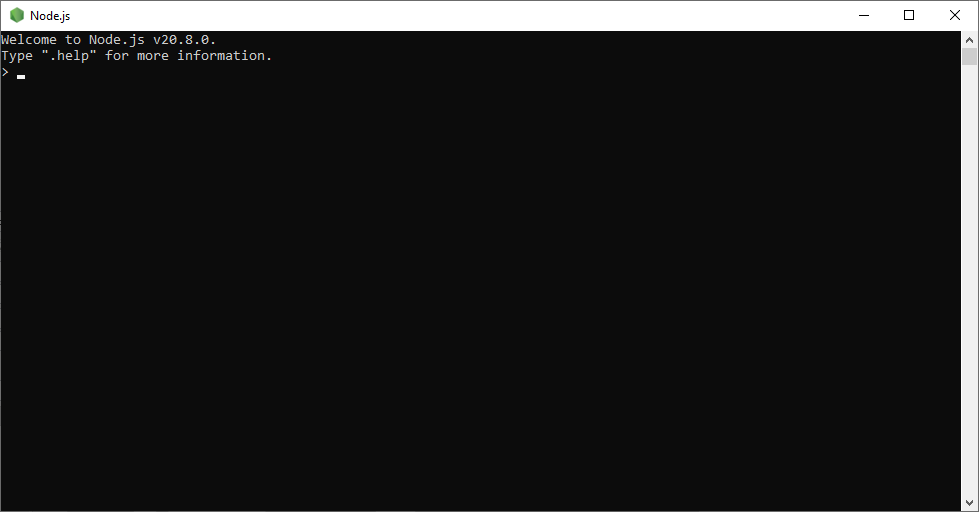
Node.js Prompt
- 21. I’m sure you will like using the Node.js. If yes, please contribute to this noble cause at Node.js – Contribut.
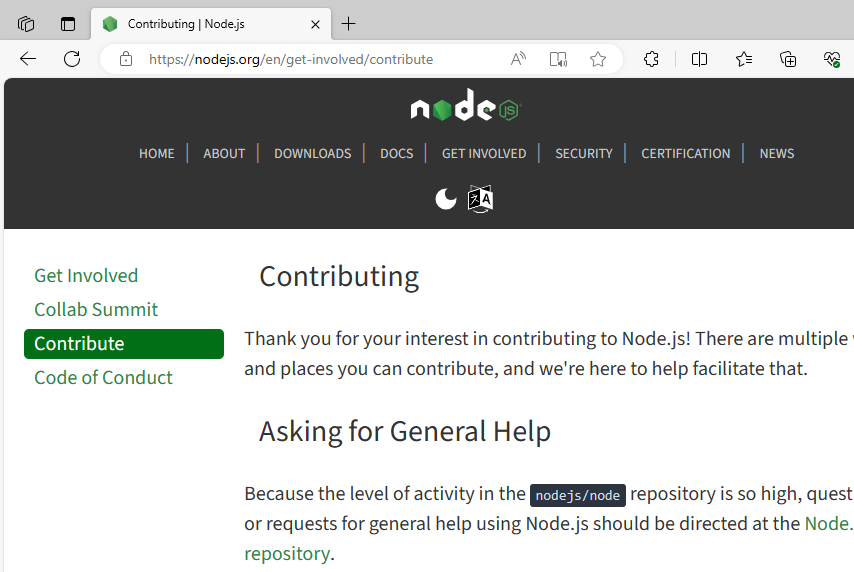
Node.js Contribute
Please share your feedback for Node.js.
Hey! I would also like to know your feedback about this blog post.